Our Mercedes Sprinter layout is built for a family, and it works perfectly!
I planned this conversion for a LONG time! and I think I achieved the best van conversion layout for kids.
This sprinter van has enough beds for family of 5, while still leaving plenty of circulating space for eating and relaxing.
———————————————————————————————————————————————————————
Check out this short tour of my sprinter sprinter van family conversion!
—————————————————————————————————————————-
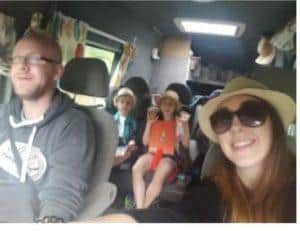 I remember our first little trip,
a weekend away during the children’s mid-term break.
We headed off in what could only be described as a ‘potential campervan’ at best!
At that time I had fitted the seats,
installed some of the windows
and basically lobbed a mattress in the back.
Off we went for a weekend of seaside fun; 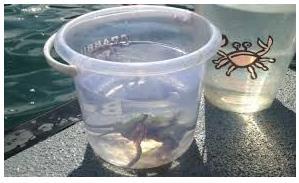 crab fishing, hiking,
picnics and much more.
It was our first experience of living in a van,
and we absolutely loved it.
Those months of enviously looking at photos of self build sprinter van conversions on instagram,
wishing for that joy in our lives – was no more,
The sprinter van life was ours!
So;
How did I get to this point…….. ????
Well here it goes!
Check out the tour of my DIY van build:
How to convert a sprinter van into a camper van.
That first trip gave us a great feel for how to turn a simple van, into a home.
It also warned off any inhibitions we had about spending a summer living full-time in a conversion van,
which is now definitely on the cards this year!
And It gave me confidence that I could achieve a self build campervan conversion on my own.
If you want to see how much a mercedes sprinter would cost,
check out the latest prices on ebay here.
So;
What were the key necessities for my DIY van build?
No:1.
Storage was one necessity when it came to designing our sprinter camper van
interior.

No:2.
Permanent / pre – dressed beds was another definite must for an easier life with kids.
We found that on arrival to a destination,
demanding children want to get out and explore immediately!
and to be fair to the “little demons”,
they have probably been strapped in their seats for a couple of hours at this stage!
So, to retain some sanity I made it as easy as possible to change from camper mode, to home mode.
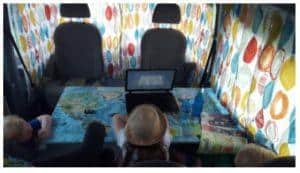
The last thing you will want is spending precious exploring time
transitioning the van into a home.
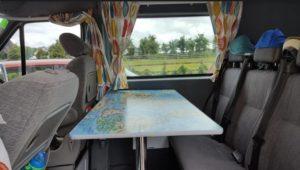
The only fixture which is not permanent in my sprinter is the table.
This is usually packed away when the camper is in driving mode.
On arrival at a destination the only interior alterations I make are,
turn the driver and passenger swivel seats around with the simple pull of a lever,
and install the table.
JOB DONE!
Check out how I planned my own DIY camper conversion.
Here’s how I made my DIY camper Table!
To attach the table to the wall I used a sliding table rail set.
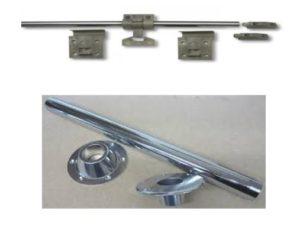
The end of the table facing the side wall has two cupped clips that attach to a rail which is permanently attached to the wall.
You could also easily use a regular table Mounting Kit.
A stainless steel pole table leg stabilizes the other side of the table.
The pole fits into a built in adaptor in the floor, and likewise on the underside of the table.
For the table top itself,
I used some lightweight plywood that was left over from the kitchen units I made.
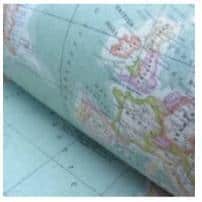

and I covered the plywood with a world map oil-cloth which I glued down with spray glue.
I used trim edging around the outer edge.
The table came out great and the whole process was relatively easy.
Here’s the campervan Kitchen I built:
My DIY campervan kitchen unit:
My kitchen unit is has an inbuilt hob and sink on top.
The cupboards underneath are for food storage and all the other general necessities.
the layout is a double cupboard unit for storage,
with a single drawer for cutlery and small items.
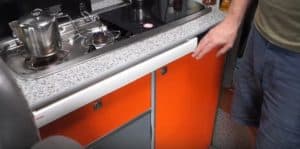
I used the SMEV double hob and sink unit on top of the unit, this caters nicely for our family of 5.
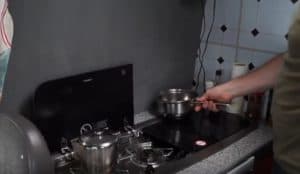
The gas hob if fed from a small camping gas tank secured underneath in the cupboard.
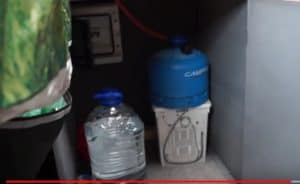
And the Kitchen sink is plumbed to fresh and waste water tanks in the boot of the van using this plumbing kit.
If you want to know more about how to plumb your sink and tap, check out this post.
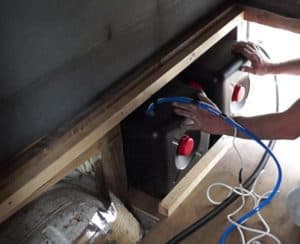
When building my campervan, I had to be creative with the space available!
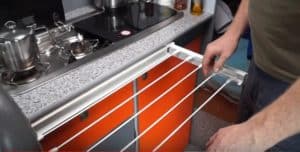
Here’s a quick clothes drying hack you can try.
I attached a fold out clothes hanging rack to the front of my kitchen.
Now I can hang out clothes to dry during the day while we are off exploring.
And when we come back,
The clothes are dry and ready to put away in the boot.

Installing swivel seats in your sprinter campervan:
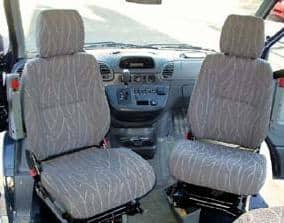
The Mercedes sprinter seat conversion I came up with is a little unorthodox!
When fitting swivel seats in your self build campervan, you must remember that this install takes a bit more planning,
Originally the sprinter van comes with a twin passenger seat like most other vans.
I found very little information on how to convert the factory double passenger seat to a single.
The seat is attached to a large steel base which is bolted to the floor of the van.
It was obvious to me that this steel base had to go!
But what would I replace it with?
I stepped back and thought of my options,
I had to source another single seat steel base and seat just like the driver’s side.
After calling a few local breaker yards
I sourced a seat and base in good condition.
The single base bolts straight into the passenger side of the van apart from one bolt hole,
I tack welded this corner, it did the job nicely.
Another issue was the hand brake mount,
I just left mine in place,
it wasn’t an issue for me, but you can remove it with a grinder and the bare steel can made
pretty again with some paint.
At this point, It was just a matter of fitting the swivel adapters to the seats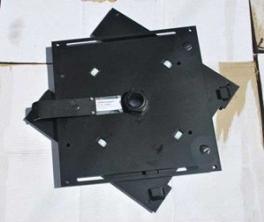
These simply bolted to the steel base,
and then it’s just a case of bolting your seats to the
swivel adapter.
And there you have it another job marked off the list,
one step closer to my self build campervan conversion!
Check out how I fitted swivel seats in my Mercedes sprinter conversion:
So how do I take care of business in my campervan?
I have a Dometic portable toilet that I can store away in my boot.
It may not be glamorous, but it does the job.
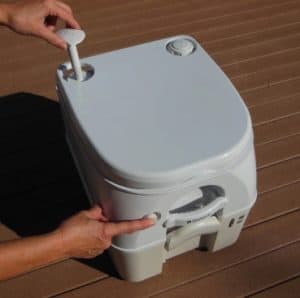
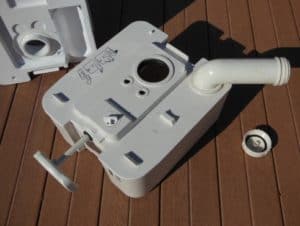
Portable toilets are made up of a plastic toilet bowl and seat, and small waste tank.
The two can be separated like the cassette toilet.
When the portable toilet is full,
you remove the lower tank from the upper bowl, and dump into a waste disposal point.
You can see above that my dometic portable toilet comes with a few different tank capacities.
Double the space in your Sprinter van conversion with a drive-away awning!

One thing I urge you to strongly consider is
purchasing a drive away awning.
I got the OLPRO Camper Van / Motorhome Awning .
It does the trick nicely and can double as an extra bedroom if needs be!
We use the awning as storage for shoes and boots etc.
Plus, It houses our portable toilet nicely also!
After a few goes, you will master erecting the awning in a few minutes, it really makes the camping experience so much better.
We decided against fitting a toilet in our camper conversion for space reasons, so we keep our portable chemical toilet out in the awning,
and I have no regrets with that decision, it works well.
Using an awning with your campervan.
The simple beauty of a campervan awning is this;
Once it is erected it gives you more than double the living space,
and the perfect setting to relax with a bottle of wine in the evening when the children are tucked up in bed!
The awning is essentially just a tent with an extra winged section which connects to the van with tension strings and ground pegs.
The awning also provides a nice shaded area on those hot summer days, all four panels of the awning can be opened up to allow a cool breeze through your pitch.
By the way,
there is no need to disassemble the awning when going out for a days adventure, simply undo the connector strings close up the awning and drive away.
When you return again that evening it’s just a matter of parking back as close as possible to the original place.
It doesn’t have to be precise as the wing is big enough to make up the difference.
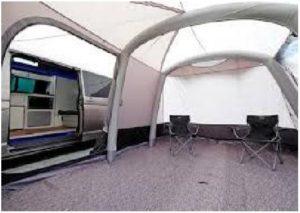
How about an inflatable awning.
If I purchase another awning, I would go for an inflatable awning.
I witnessed a campsite neighbor erect one recently,
it was up in minutes, no messing with threading poles through lining, just plug in your little 12v compressor and pump it up,
( you could have i bottle of beer while you wait !)…
Then pin it down, and voila its done!
Take my word an awning is a seriously good addition to camper van life.
Check out my Flip up Bed Boot!