Want to know how I plumbed in my SMEV tap to my sink hob unit?
Check out this guide to fit a sink and plumb a whole fresh water and grey water system into your camper conversion.
I plumbed out my Mercedes sprinter van conversion in a few hours and it works a dream!
I will go over;
- My campervan sink ideas,
- The campervan waste water tank and fresh water tank setup,
- The whole camper plumbing system in my sprinter van.
- How to fit a sink in a campervan.
- How to prepare and fit the waste water tanks.
- and how to fit the tap.
So lets get into it shall we!
———————————————————————————————————————————————————————
What you need to Plumb a Campervan Conversion;
Heres my parts list:
- Whale Standard Submersible Water Pump GP1002 – View on EBAY,
- Smev AC539 Campervan Mixer/Cold Tap – View on EBAY.
- Caravan Motorhome Water And Waste Pipe – View on EBAY. – water pipe, waste pipe.
- Caravan Waste Water Storage Tank 23 litre (Black) – View on EBAY
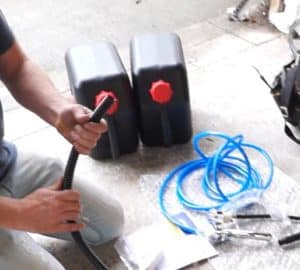
- 1: You will need a 1 inch flexible waste pipe, I bought 5 metres just to be sure.
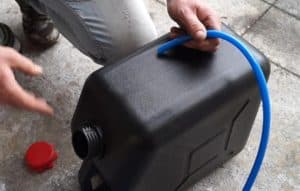
2: A 10mm fresh water pipe, again, I bought 5m.
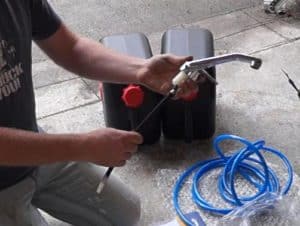
3: you need a switched tap which activates a pump in the water storage tank. I bought the SMEV campervan tap as it suited my needs perfectly.
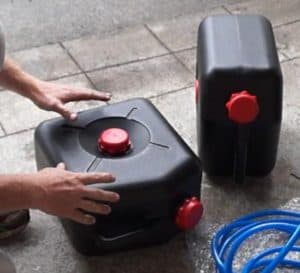
4: You need 2 water storage tanks,
one for fresh water, and one for grey or waste water.
I bought this 23ltr storage tank with dual access caps,
this allows you a bit of flexibility in how you place the tanks in the van.
There are many different types available,
So, another type may suit your van better.
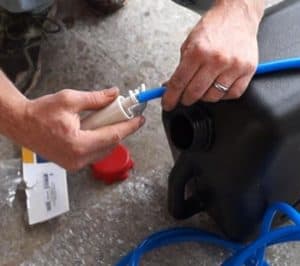
5: you will need an electric submersible pump which works with the tap to pump the water up to the sink.
I got the Whale Standard Submersible Water Pump.
———————————————————————————————————————————————————————
Installing the plumbing in your camper conversion.
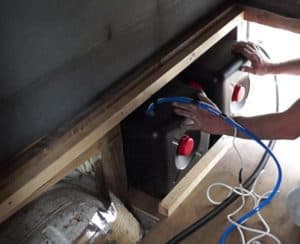
1: Pick the position of your tanks.
The first thing you will need to do is to dry fit the tanks into the van and decide how the tanks will be positioned.
I put the fresh water tank towards the front of the van,
And the waste water tank to the back of the van,
The reason why, is because the waste water tank will be removed regularly to emptied.
But the fresh water tank can be filled in position and will never be taken out.
2: drill out the entry hole in your waste tank.
I drilled the entry hole in the cap of the waste water tank.
This allows me to pull out the waste pipe easily,
And then carry the grey water tank away to be emptied.
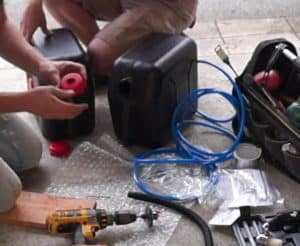
Heres how the pipe fits through the filler cap, you can leave enough pipe in the tank to touch the bottom of the tank.
This will avoid any chance of the pipe pulling free.
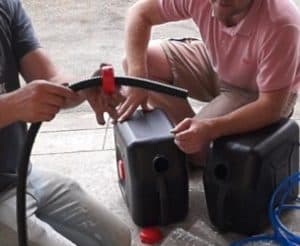
3: Pick the position of your entry hole in your fresh water tank.
I drilled the hole for the fresh water tank on the side of the tank,
The hole must be big enough to pull the pipe and wire back through when fitting the submersible pump.
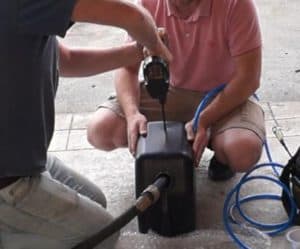
4: Fish through the water pipe to the tank cap.
Next job is to push the water pipe into the tank through the hole you just drilled.
You will have to fish out the pipe through the entry cap with a hook.
I used the plunger of my silicone gun to catch the pipe inside the tank.
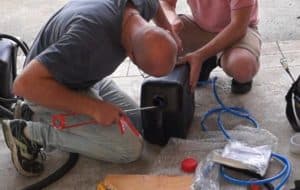
5: soften the water pipe for fitting the pump.
The water pipe is quite tough,
so you will find it hard to push the pipe over the collar of the water pump.
To get over this problem, you can soften the plastic by sticking the pipe in a cup of hot water for a minute until it softens.
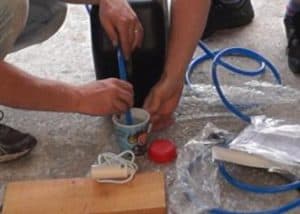
6: Install the fresh water pump.
Then you should be able to push the pipe onto the submersible pump with ease.
Next,
Tape the short cable to the pipe and pull it back though the hole you drilled in the tank.
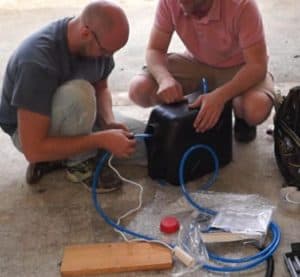
7: fishing the wire back through the entry hole.
You will need to take this slowly,
as there is a chance that the cable will come lose and get lost in the tank.
Leave enough slack on the pipe, so the pump is touching the bottom of the tank.
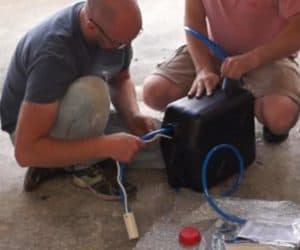
8: Wire up the cable from the pump.
Get your flex of cable and wire up enough cable to reach the fuse board where you will wire the pump a constant live off the leisure battery.
![]()
9: Fitting your tanks in position:
Place your tanks in the position you will be fixing them.
I have layed the waste waste tank on its side to allow for easy filling of the fresh water tang from a hose in the back door.
Also, the waste tank will be removed regularly,
so I want to be able to access it easily.
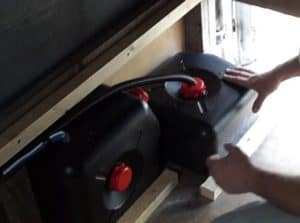
10: Drilling through to the kitchen:
No you need to lead your pipes and cable into the kitchen unit for final connection.
My water tanks are under the fixed double bed at the back of the camper, So I have to clip the pipes along the wall of the van, under the bed, to reach the kitchen unit.
I have to drill a hole to pull the pipes through the wall of the kitchen unit.
REMEMBER: There should be a fall in the waster pipe towards the waste water tank, this allows the pipe to clear fully.
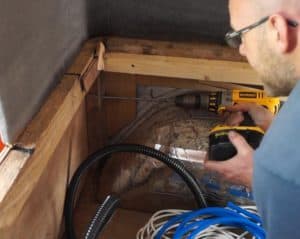
Here you can see the pipes enter the lower shelf of the unit.
The pipes are then fed up through a hole in the shelf to reach the underside of the sink.
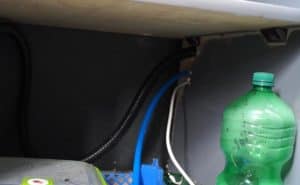
11: Connecting the waste grate.
Cut the waste pipe with enough slack to reach the waste grate and create a loop in the pipe for a water trap.
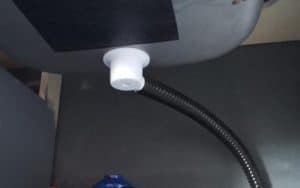
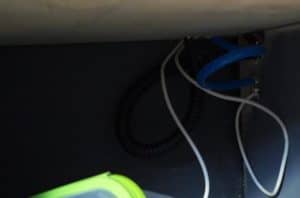
You can see how I looped the waster pipe to create a water trap to stop any odour leaking back into the cabin from the waste water tank.
12: Fitting the SMEV tap to the sink.
First fit the tap into the hole with the gasket fitted to the underside of the tap.
Place the tap into the hole slightly off the final position.
The final position will be reached by twisting the tap and not the nut underneath.
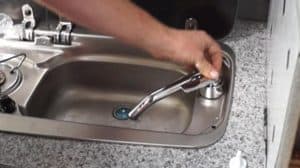
Thread the nut up onto the tap and tighten until finger tight.
Then tighten the last quarter turn by holding the tap and twisting into position over the sink drain plug.
13: Connecting the water pipe and wiring to the tap.
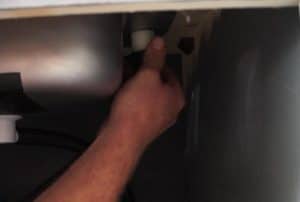
Measure the water pipe and leave about 6 inches slack to allow for fitting.
Cut the pipe with a sharp knife,
and then press the pipe into the tap connection, make sure the pipe is well fitted to the connection.
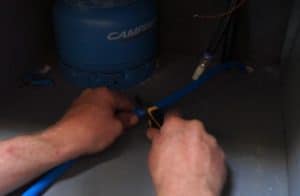
Now for the wiring the tap.
Open your flex cable where you want to make the connection to the tap.
Allow enough slack for fitting after the job is done.
Cut the live wire, and pare back both ends to reveal the copper.
Connect one wire to each side of the tap wires.
The tap will now act as a switch for the pump.
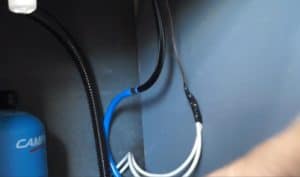
Final check of the tap and wiring before fixing pipes and wiring:
Check all the connections along the wiring circuit and the plumbing circuit for loose connections.
Then clip back the slack pipes and wires neatly into position.
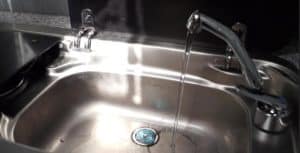
And now your done!
That is how I Plumbed out my Mercedes Sprinter campervan conversion with with a SMEV switch tap and water tanks.
Check out the links for the latest prices of materials I used.
If you are looking for more info on the type of sink I used and how it works,
Then check out my review of the SMEV sink/hob unit.
Best of luck on your project!
What you need to Plumb your Campervan Conversion;
Heres my parts list:
- Whale Standard Submersible Water Pump GP1002 – View on EBAY,
- Smev AC539 Campervan Mixer/Cold Tap – View on EBAY.
- Caravan Motorhome Water And Waste Pipe – View on EBAY. – water pipe, waste pipe.
- Caravan Waste Water Storage Tank 23 litre (Black) – View on EBAY