So,
You got the van, and now you’ve reached the first major milestone of your campervan build, fitting the camper windows!
it’s the point of no return, and the point where your dream becomes reality…..

You are about to cut a big gaping hole
in the body of your van!
There’s no going back from here……
Whilst you may think cutting a big hole in your van for your window is scary stuff …..
Don’t panic, it might be a long process, but it’s a lot easier than you think.
The key to fitting windows like most things, is good preparation.
Be sure of your measurements of your windows before you start,
measure – check – measure – check, and measure again.
And that’s it, don’t be afraid have some confidence in your ability.
Putting a hole in the side of your van is a daunting task,
but trust me – it is a relatively easy process.
So, lets get started then!
Heres a short video on my own window installation and the problems I had:
TYPES OF CAMPERVAN WINDOW.
There are two different types of campervan windows you can choose from;
1- Single pane bonded glass windows
and
2- an acrylic style window unit.
Single pane bonded glass windows,

these would be the windows that fit into the sunken panels which already exist in your van body or where the windows would be if your van was your bus let’s say.
Bonded windows as the name suggests are stuck directly on you’re a van from the outside,
and fixed with a polyurethane bonding adhesive.
When fitting the window you’re quite literally cutting out a hole and sticking on a window.
Bonded Windows come already specified for your specific van.
They can be bought with a factory tint or clear,
And, they can be got with sliding windows built-in, or as a plain pane of glass.
So, you’ve got a little bit to think of, if choosing a bonded window.
The second style is an acrylic window.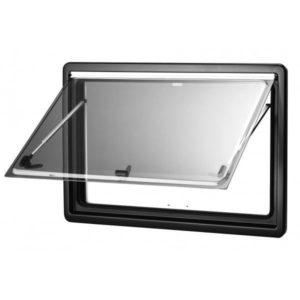
These windows are what you would associate with a bespoke camper build.
They are as the name suggests again a plastic window unit.
Acrylic windows at hold a certain advantage over bonded windows
because of their versatility,
They come in many different shapes and sizes to suit whatever needs you might have,
For instance;
Thin rectangular windows for bunk beds, or a frosted window for bathroom etc.
Also, acrylic windows come in two parts,
the plastic window opening is fixed from the outside of the van,
again using polyurethane adhesive.
And inside there is a second part which sandwiches up against the wall paneling and insulation,
This provides a nice clean shroud
so you can end up with a factory look from your job.
The second inside panel also comes with a built-in blind and fly-screen,
This does away with the need for curtains later on.
The biggest downside to the acrylic windows is price…
they can be double the price if not more, of bonded windows, depending on size!!!
So thats the window types,
The next job is choosing the window location.
Choosing window location in your camper:
The main objective of installing a window is to provide light,
so,
that should be taking into account first and foremost when considering a window location.
and don’t worry if you don’t get it right the first time!
Because an acrylic window can be cut in again, to provide more light,
even after you have finished your build!
My advice is this, install your main windows first and foremost
and as the build progresses you will have a better idea on how much light you might need.
Don’t forget!
The window location and size, must suit the interior layout!
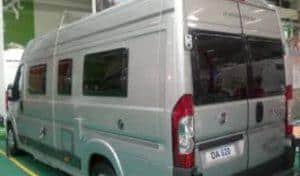
Fitting a bonded window to your campervan.
Let’s start with bonded windows.
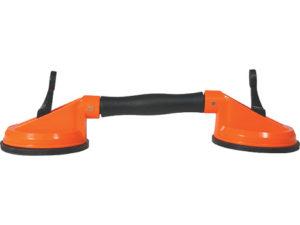
A good little tool to have in your Arsenal
are these suction cup glass holders
they really make the process much easier.
First and foremost,
offer up your window to the panel where it will finally be fixed,
This will make sure you have the correct window
(You may think this is silly exercise but believe me it has happened!
A hole has been cut and the window did not fit)
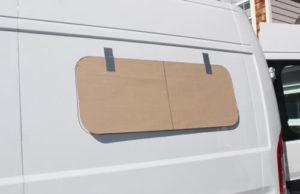
The next thing to do is to make a cardboard template of your window,
cut the cardboard slightly larger than the un-tinted see-through part of
the window
leaving the black tinted part exposed
as this will be the size hole you will be cutting.
It is good practice to mask the 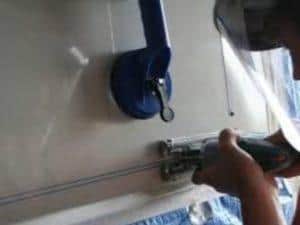 cutting line,
this has two purposes;
firstly it creates an easier surface to Mark with a Sharpie
and secondly cutting it prevents paint from chipping.
Cutting out your van panel to fit the window.
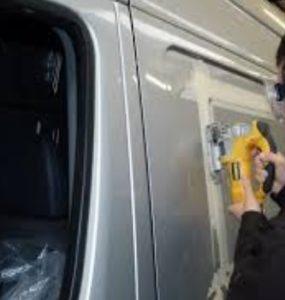
The next job is the frightening part!
Cut the internal raised section of the panel
leaving approximately one inch flat surface for the window to Bond to.

There are few different tools one could use to cut the panel,
I use a miniature grinder to cut through the panel.
Although it can be sometimes difficult to handle when pulling against the grain.
I often have to prepare for a Kickback which could end in tragedy if not dealt with correctly!
You could also use a jigsaw with a steel cutting blade, 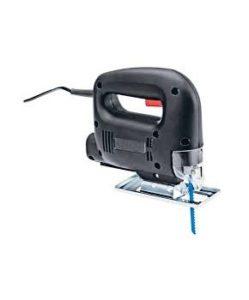
again this is not be without its drawbacks,
Also, you could use a reciprocal sawzall, again with a steel blade,
It’s possibly a better option but it requires a steady hand as kick back can be an issue,
no matter what method you chose, it will be a slow process, So take your time you have lots of it.
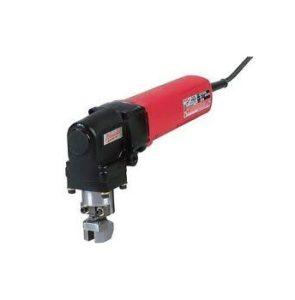
The correct tool to use is called a nibbler,
but honestly, unless you have one at hand, or I can borrow one
I would not recommend buying one simply to cut out for a few windows the cost would not justify the expense.
so now you have a big hole in your van! and you have got loads of light internally,
exciting times……..
But don’t stop there it’s time to fill that hole.
Preparing the metal for fitting the window.
Heres a short video of preparing the bare metal around the window opening:
——————————————————————————————————————————————————————————
Firstly, clean the freshly cut surface of any sharp edges or burrs as they are called, 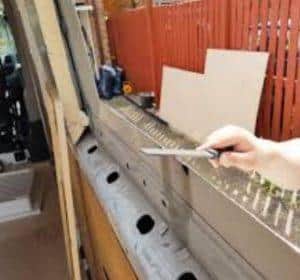
this can be done with a file or,
run the flat edge of the grinder along the surface just to clean it up.
On some vans depending on make, there can be a double skin body on the van.
An inner and an outer skin, so both will have to be cut and treated.
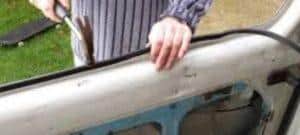
It is common practice to fit a rubber window bead
to the Inner Skin To cover up the Sharp Edge and to leave a better finish.
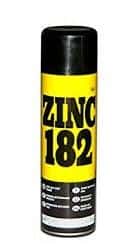
It is also advisable to treat the edges with an anti-rust primer such as this one.
The next operation on the list is to clean the outer surface of the panel.
Peel off the masking tape you laid on earlier,
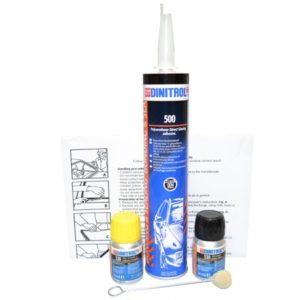
Then wipe the surface clean with the cleaner fluid provided with the polyurethane adhesive,
A generous layer of primer is required on the panel surface.
which also comes with your kit.
Repeat this same cleaning process on the surface of the window where the panel will be binding to.
Now it’s time to lay down a nice thick bead approximately half an inch thick of polyurethane adhesive.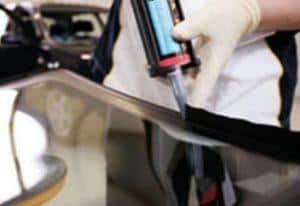
Take note,
weather conditions have to be considered when using this adhesive!
if it’s raining, and the van is outdoors, well then forget about it!
Dry cool conditions are needed for the adhesive to set correctly
(not too cold and not too hot).
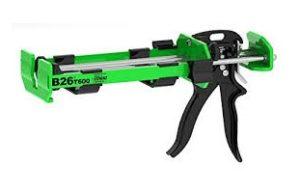
Also,
I advise investing in a good quality adhesive applicator gun
because, I find the pressure needed to squeeze this adhesive out,
will break the trigger on a cheaper gun.
Once you have a consistent bead with no gaps, It’s time to fix the window (preferably a two man job)
Fitting the window to your conversion van.
Fix two suction grips to either side of the window,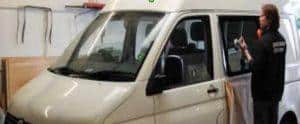
Put the window in place pushing from the outside and pulling from the inside,
message the window a little from side to side
to ensure good strong bond all around.
Then, hold window in place for 5 to 10 minutes.
It can be a good idea to put plastic shims on the underside of the window
to keep it even and to stop sagging whilst the adhesive is setting.
for extra peace of mind,
I attach bungee cords to the suction pads on the inside to keep constant pressure for a further hour or so.
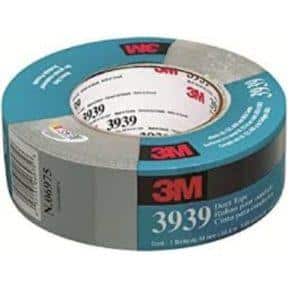
Also tape the windows from the top on the outside using the strong duct tape or equivalent,
some people might think this is overkill
but it is definitely better to be safe than sorry in my book.
Do not drive your van up to 12 hours after fitting new window as an added precaution.
if your bonded glass window has a built in sliding window,
it is important to note that there are two water draining outlets on the bottom of the window.
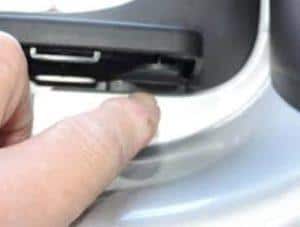
Do not block these draining ports when applying polyurethane adhesive to these windows,
that will cause a whole load of trouble you just don’t want!
A blocked drain port will cause rainwater to build up in the window sliding channel,
which will eventually overflow and saturate the inside of your van!
So, there you have it.
That is a complete guide to fitting a bonded window, warts and all.
So,
Lets move on to fitting an acrylic window unit to your van conversion.
The second type of window is the Acrylic motorhome style window,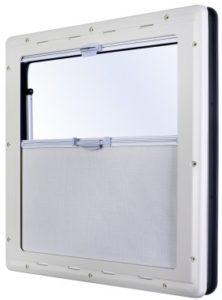
complete with blind and fly screen.
As I said earlier this type of window
whilst being more expensive and slightly more labor intensive,
The window gives a cleaner professional finish in the end.
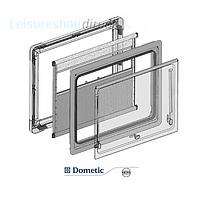
These windows come in two parts,
an outer skin and an inner skin.
So lets get to the process of fitting this campervan window unit.
The first thing to do is make up a 2×1 inch wooden support frame.
The wooden frame should be a snug fit around the raised collar of the outside skin.
Again;
It is advisable to make a cardboard template of this raised collar,
this will make life easy for marking out the windows position.
When cutting the steel,
go through the very same process has the bonded windows,
lay down masking tape where the cut will be made to prevent scratches and paint chipping.
measure twice and cut once as the old saying goes.
When the hole is cut,
run a file or the flat surface of the grinder on the Edge of the cut panel,
to remove any Sharp pieces of steel.
Then treat the cut surface with some anti-rust primer.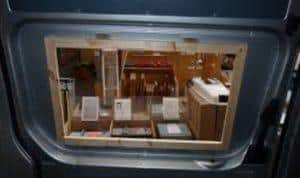
The wooden frame can now be stuck to the inside surface
using an adhesive.
Once the frame has set you’re ready to fit the window.
Fitting the acrylic window unit to your conversion van.
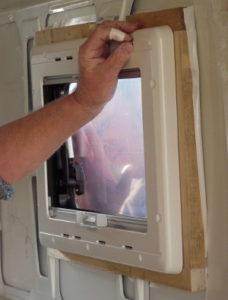
First put a thin bead of sika flex around the inner surface of the outer window part of the window unit.
place the window in position and use some tape to hold it there if you don’t have another pair of hands helping you.
Fit the inner skin in position and screw the two halves together using the screws provided in the kit.
And that’s it!
Don’t be afraid have some confidence in your ability
Putting a hole in the side of your van is a daunting task but trust me it is a relatively easy process once you get into it.
Fitting a window into your panel van conversion is the first big step in your conversion project.
So take the time to get it right!
A successful window fitting will set you up for a successful project.
So get out there and get on with it, less reading more cutting!
And,
Let be sure to let me know your own experiences in the comments below.
